Wednesday 26 February 2014

Photo-Alphabet Art board

Here is a quick art-board I've created in Photoshop from today's shooting. I think I found some pretty good shapes, I plan on scouting some other locations on Portland for other shapes.

This task has really made me re-think the way in which I see things in the environment and how simple things such as lighting and camera angle can change the way in which the photo is interpreted by the audience.

The photos i'm particularly happy with are the "W" and "I" letters which I took several times in different angles however the other angles I tried didn't highlight the desired letter as well as the final photos did.

While testing out some of the settings on the camera I noticed that color has very significant role in highlighting certain objects in a shot for example in the "V" photo the audience would of got distracted by the blue of the sky or the green of the plant in the background but by grey scaling the background and just having the primary object in color it directs the attention of the audience.

 I decided to replicate this process after seeing it in an online tutorial as the tutorial described this as a useful technique when trying to justify the focal point of the image.

Wendy Russel. (2014). Sample of Grayscale and Color Picture Combination on PowerPoint Slide. Available: http://presentationsoft.about.com/od/powerpoint2010/ss/120307-grayscale-image-with-color-picture-effects-powerpoint.htm. Last accessed 26th, Feb 2014.


1 Day Project #2

For the next one day project i'm required to make a photo-alphabet. Since receiving the task I have been scanning around various locations looking for objects and framings which would make up the shape of a letter. The minimal requirement is to shoot photos which make up your name.

A very useful I've found when conducting research into photo-alphabet compositions was http://www.alphabetphotography.co.uk/ which enabled me to understand how you can identify shapes in almost anything , you just need to change your perception.

It also gave me inspiration and ideas into what sort of camera effect I should apply to my shots as all of the shots on this site are in sepia. however I personally believe that this effect sometimes hinders the shot as the focal point may be established clearer color.

One of the photographers I researched for this task was Koende Muynck who is a Belgian Photographer. I Koende's landscape photos as I found the way in which establishes key elements in his photos really interesting aswell as the abstract nature of the photo. Once I complete this task I will likely take my photos further and try and make them abstract like Koende's


Sunday 23 February 2014

Timelapse Test

This is a short time lapse video I did while on Portland during the weekend. I think I should of stayed longer so that you can see the visual transition between day and night however I was annoyed about the black smudge on the lens which I couldn't remove. This was shot between 5pm and 6:30pm at the top of Portland by the Portland heights hotel, it was particularly windy where I was filming which caused the joltyness in the video even though I was using a tripod. 

Next time I do a time lapse video I will ensure that these problems won't occur by ensuring that the camera and tripod are positioned in a suitable location so that quality of the video isn't hindered so badly. 

I should also have a much clearer focal point in my videos so that its clear to my audience what the primary focus of the time lapse is.

Thursday 20 February 2014

Mini Animation Project Progress

I have somewhat completed my 15 second animation and am happy to present it on Thursday. I created a small piece of music in a piece of software called StageLight, this software enabled me to create a simple tune using a various selection of digital instruments. I developed my animation with the concept of repetition in mind as I wanted an element of the stage to somewhat synchronize visually to the audio which also has elements of repetition in the form of a drum beat.

 However this visual repetition gets boring rather quickly so the role of background shapes is to introduce an interdependent dynamic element to the stage which refreshes the audience's interest with every new dynamic shape. This technique of breaking away from repetition is also applied to the audio as I change the instruments performing the song's verse this is also a technique I applied to my work in an attempt to make my visual audio animation more interesting.

Melissa Yocum. Rhythm/Movement. Available: https://sites.google.com/site/principlesofdesignsite/home/rhythm-movement. Last accessed 17th Feb 2014.


My inspiration for this animation was a music video which was animated by Oskar Fischinger in his animation he used a series of simple shapes moving dynamically with the beat of the music.
The Elfriede Fischinger Trust. (2013). The Fischinger Trust. Available: http://www.oskarfischinger.org/. Last accessed 16th Feb 2014.

 I tried the replicate his unique visual technique in my animation however I don't think I was able to successfully synchronize the physical movement of the shapes with the beat of the music. I will try and improve my animation so that it correctly synchronizes. 

Tuesday 18 February 2014

Mini Animation Project

I have been assigned the task of creating a very short animation which requires accompanying sound which must somewhat synchronize together. This has initially confused me in which way to start his project, should I start with the audio or animation first? After reviewing some of the helpful links which my lecturer attached to an email I'm pretty sure i'll start with the audio as i'm pretty sure that's what they did in the some of the music videos I've watched.

Simon Perkins. (2011). "Music video revision of Oskar Fischinger's Komposition in 
Blau". Available: http://folksonomy.co/?keyword=20269. Last accessed 18th Feb 2014.

I have had quite a bit of experience with flash animation so I shouldn't be hindered by the software.

I undertook some of my own interdependent research and found some really good visual animations such as this: Video.

Matthias Müller. (2010). Entering The Stronghold | Audio Visual Animation. Available: http://matthiasm.de/. Last accessed 18th Feb 2014.


This visual animation uses 3D particle effects created in Adobe After Effects which I would really like to try and make afterwards. I will be required to install an after effects plug in which will enable me to create similar particle effects as the creator.


Portfolio website update

I'm satisfied with the home page I created for my portfolio and I'm now in the process of designing the "my work" page and I think I'll have my work dynamic scroll horizontally. This would make the page seem less crowded and is easy for the user to navigate the page contents. I'm pretty happy with my current workflow which initially starts with me creating a page mockup on Photoshop and then importing individual graphic elements into Flash CC. This enabled me to convert graphical elements into dynamic symbols such as movie clips and buttons. I'm hoping to create my own image gallery which will function much like a scroll gallery where the central item will reveal more information and then the information will be hidden as you highlight another item, this will ensure that the content isn't cluttered and the user doesn't have to scan the page for different information, everything of interest will be presented centrally. In the feedback I received the feedback suggested that I have less pages in my website so to acknowledge this feedback I'm planning on having the CV and portfolio content on a single page and the contact and blog link on another so my website consists of 3 pages.

Sunday 16 February 2014

History Of Animation


In this blog entry  I will be discussing some of the key events in the development of animation from the early 1900’s to current day.
Before motion picture films there was animation and one of the first ways in which animation were produced was through a device called a Zoetrope. A Zoetrope is a device where the frames of an animation would be printed on the inside of the circular drum of the zoetrope and then the device would then be sped round in the opposite direction of the frames which gives the visual impression that the images are dynamically changing. In 1917 the first animate feature film was created which was called El Apóstol which was created in Argentina, the film was just over 70 minutes long and consisted of just under 60,000 frames.

The next key development in 2D animation was in 1928 which introduced the synchronization of sound with animation. This was the first animation by Disney which introduced Mickey Mouse in a 7 minute animation called “Steamboat Willie”. This development revolutionized animation thereafter as animation previously were just moving imagery without any sound.  


The next revolutionary development was in 1932 which saw the introduction of Technicolor which enabled animations to be shot in colour which added a new dimension to animation, as animations and feature films were previously all done in black and white.
In 1980’s movies started implementing computer generated imagery into their scenes and one movie in particular called “Tron” is very iconic for its extensive use of CGI throughout before Tron CGI was barely used in feature length films.
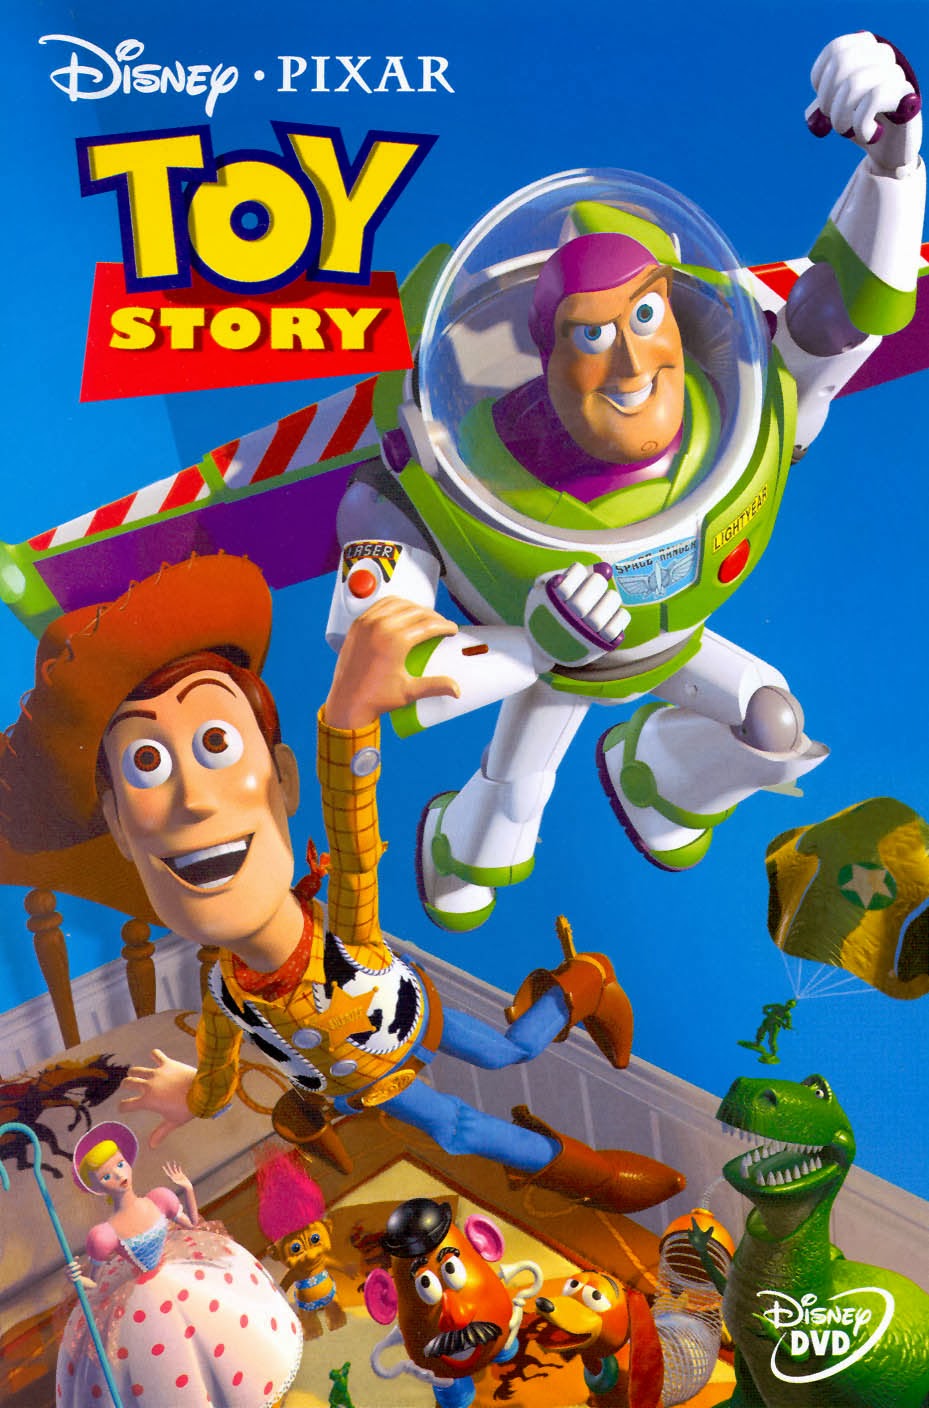
In 1995 the first completely computer generated movie was develop which was called “Toy Story” the movie was developed by "Disney which also created the “Steamboat Willie” short animation. The movie didn’t require any physical acting and only required voice actors to perform the voices for the computer generated characters


Types of Animation

There is a common argument that animations that a compiled of drawings are much better than computer generated animations such Finding Nemo.  Animations which fall into the hand drawn category are animations such as Beauty and the beast and Dumbo where the whole movie is made up of hand drawn frames, hand drawn animated movies were a common trend in the early 90’s and most of the successful ones were created by Disney.  In modern days computer generated animations are much more popular and Pixar movies such as Wall-E and Finding Nemo always do very well at the box office. There are various types of animation which can be identified by the unique techniques used the make them, 
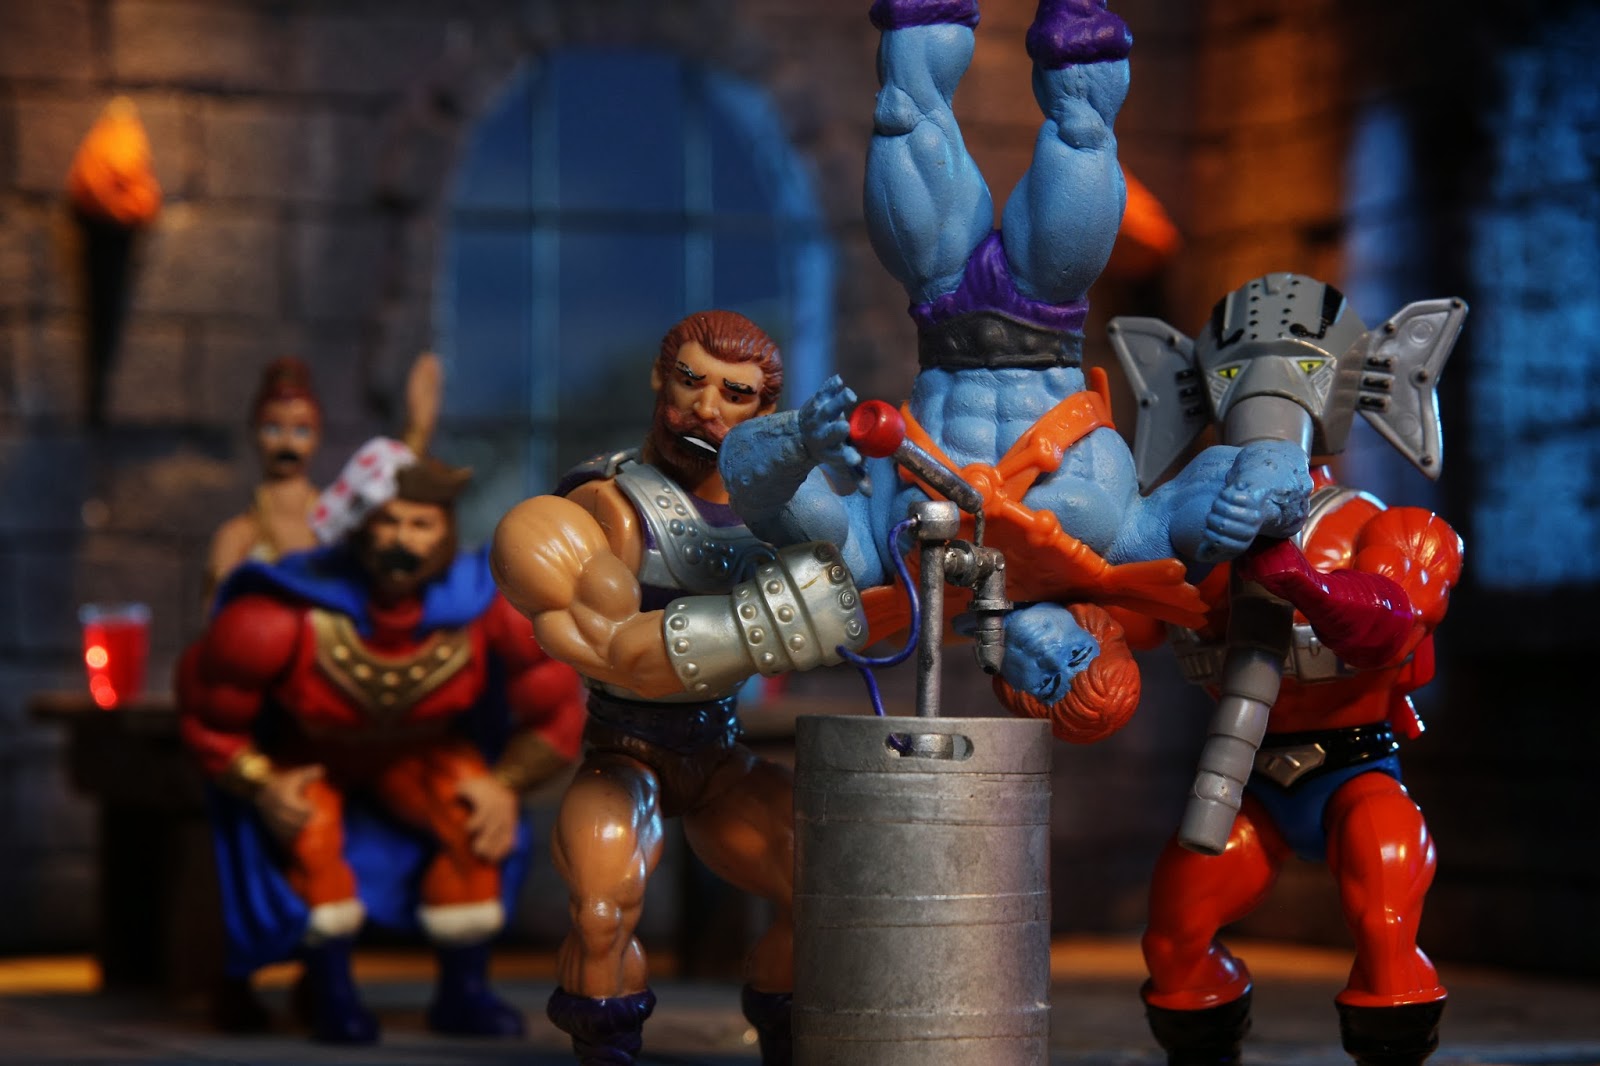
for example “stop motion” animation consists of capturing physical objects such as figures and models in a particular pose and then repeating the process multiple times to create an animation. A really good example of this type animation is robot chicken which is tv show which is basically a tv show made up of toy figures in a stop motion animation. 


Another popular tv show & movie franchise which utilizes stop motion animation is Wallace & Gromit where the characters and scenery are made out of clay. Wallace and Gromit has won several Oscars since it was created and meaning that this type of animation is still favoured by a particular audience over animated movies which have a heavy use of CGI. Developing an animation such as Wallace and Gromit is quite a time consuming process and some other types of animation such as 2D animation would take less time as all the frames are developed digitally. An animation like Wallace & Grommets would undergo an extensive storyboarding process which shows what happens in every other frame.


2D animation consists of drawing bitmap or vector graphics digitally on a computer, there animated file types such GIF which enable a number frames to be stored therefore enabling you to make animations. A common piece of software you would use to create a 2D animation would be Adobe Flash.
3D animation is a slightly more advanced technique of animating as it consists of firstly creating 3D Mesh for an object and then adding a texture on afterwards


This technique of animation is very modern and in movies such as “Rise of Planet of the Apes” a process called motion capture is used in which an actor would act out some physical movements and then that actor’s silhouette would be remodeled into a 3D generated character as seen in the picture below.


Performance capture has also been implemented into video games and in the Rockstar game “LA Noire” has been used extensively. The way in which it was done was by using a rig made up of a 360-degree set-up of 32 cameras grouped into pairs to capture the performance of an actor from the neck up. The footage creates an exact 3D mesh overlay of every facial expression meaning what you see isn't strictly animation, but more like a converted film sequence. The reason performance capture was sued on this game was because the reading of expressions on the characters faces serves as an important game mechanic when deciding a character is lying or not. LA Noire is the only game really to utilize performance capture this heavily however I predict in the future it will used a lot more. 

Thursday 13 February 2014

Revisiting My Portfolio

I'm currently in the process of redesigning my portfolio website  due to feedback. I'm going to use less colours in this design while at the same using implementing more dynamic effects such as mouse over events and slideshows. I think my previous design was quite cluttered particularly the portfolio page. I think instead of all my work spread onto one page I will instead have my content disappear and appear in a gallery, this will ensure that the audience doesn't struggle to navigate my content like they previous would. I think this redesign would make my portfolio more interesting and more functional.


During the testing of my design I have noticed that there is a slight delay before my website loads, this is because I this design uses significantly more graphics than my previous design so doesn't load immediately. I think i'm going to need implement a preloader to ensure that my website is functional. 

Animation Workshop

In today's workshop we learnt more about the history of animation and some of its key developments for example we learnt about "Steamboat willy" and "Tron". We also looked into modern animation such as the movie Avatar and the performances of Andy Serkis as computer generated characters. A practical exercise we did in the workshop was to create a short 12 frame animation on a strip of paper which flowed correctly. The aim of the workshop was to in the end take pictures of each of the individual frames in the animation and then import them into software such as flash or Photoshop so they can be modified digitally.

This gave me an understanding of some of typical workflows which digital artists may undertake when creating productions.

Channel Project Summary

Yesterday we presented our finished channel projects and I have mixed feelings about our project. I was really pleased with website Alex had created for our brand and it clearly showed how much hard work he had put into it.


 I was also pleased with the logo designs Tom had created, as they had developed quite nicely since the one day project and we ultimately ended up with a logo which I think conveys our company's values as well as looking professional.


 One aspect of the project I wasn't so happy with was the videos as they were rushed and poorly edited by the person assigned the role from the beginning of the project. I think the videos significantly hindered the quality of the project as they weren't a consistent resolution or aspect ratio and the video was compressed way too much.
In future projects I think its important that all members of the group contribute equally and to ensure this happens I think we should set mini deadlines for each group member to ensure that the project's development isn't hindered by other group members which was clearly the case in this project.

Saturday 8 February 2014

Channel Website Production Progress

I have recently been working on some of the animated sequences which will be used in our videos. I have created a line graph sequence in after effects which will be used to illustrate what our Nyto-Elucidate treatment does which would be shown in our video supported by a voice over.


Saturday 1 February 2014

Channel Project Filming Review

On Wednesday 29th of January we undertook the filming process for our production. Every member of the group arrived at the filming location relativity on time and was able to get all of the equipment set up pretty quickly. Before we could start filming we needed to write the scripts for the videos which wasn't very difficult as the product descriptions I had made for each product had information we could easily throw into the script.

Sophie was our actress for our initial video and was clearly very nervous so we were required to re take her scenes several time however we did in the end get a take we were all happy with.

I was in charge of the audio for our shoot and basically had to hold up the boom mic during the shoots. Alex was in charge of operating the camera and did a very good job throughout the shoot. Lauren was our director and also helped produce the scripts.

I overall think our shoot went pretty well however I think the filming process could of been done a lot quicker if we had produced storyboards and script before the shoot as the 3 videos took 6 hours to complete.